
I had my first attempt at making batik eggs at Steiner Playgroup the other day. Batik Eggs are made by dripping melted wax onto an egg and then dyeing them. I have to admit that my attempt at playgroup yielded much better results than the ones above (possibly because we used a good quality dye and candles!) but I think the ones we did at home still turned out alright in the end. We used blown eggs for this activity so we can keep the eggs. The eggs we made at home were make using generic food dye, a normal old candle (which was possibly a bit thick) and some white Silkie eggs (white eggs work better with the dye).
Here's how to make them:
STEP 1: Prepare the dyeTo make the dye I mixed 3/4 cup warm water, 1 tbsp of vinegar and 1/4 teaspoon food dye. I made four different colours: yellow, red, green and blue. The colours are achieved by dipping the egg in a succession of different coloured dyes.
 STEP 2: Drip melted wax onto the egg
Put a few drips of wax onto your egg. You can choose whether to drip dots of wax on the egg or just let it run wherever. The two eggs on the left in the first picture are made by dripping wax onto the egg (although not very successful attempts given my candle was a bit too thick!) while the other two were made by letting the wax run wherever. Remember that you will be putting more wax on to make different coloured patches as you go along so you don't need too much wax for the first layer.
 STEP 3: Dip the egg into the dye
After the first layer of wax is on dip the egg into the dye. You will need to leave it in there for awhile and move it around slowly to allow the dye to penetrate. I usually start with yellow and then move to darker colours as I go on (this is the bit where you end up with interesting coloured fingers as you can see!)
 STEP 4: Repeat the process
Once you have done the first layer repeat with more wax drips leaving the previous wax on. Dip the egg into the next dye colour (I chose red). Repeat the process with the wax and dye until you have used all the colours or you are happy with the colour (the more colours you dye the more coloured patches you will get).
 STEP 5: Remove the wax
Once you are happy with how the egg looks you can remove the wax. This can be done by gently picking the wax off (be careful though as it can scratch the dye and leave marks). For bits that are hard to get off you can hold over the candle flame until melted and gently rub into the egg (this leaves a nice polished coating on the egg too)

This is a fun activity to do but it does take a lot of time. It took me a couple of hours to do these four eggs. Jacob and Esme were very interested in watching it to start with but it didn't take them long to get bored! Kids will also require close supervision when you are doing this activity.

This post is part of the Teach/Learn Carnival, April’s theme is
Easter. If you would like to join in
submit your own post here, or check back at just before Easter for the links to lots of great posts.
 We woke up on Easter morning to find that Easter Bunny had left pawprints and bunny fur down the corridor...
 He'd also left us some yummy chocolate lollipops...
 And lots of other things!
 Jacob was so excited to get these space books from Easter Bunny!
 We made some special presents for family (these are seeded recycled paper baskets)
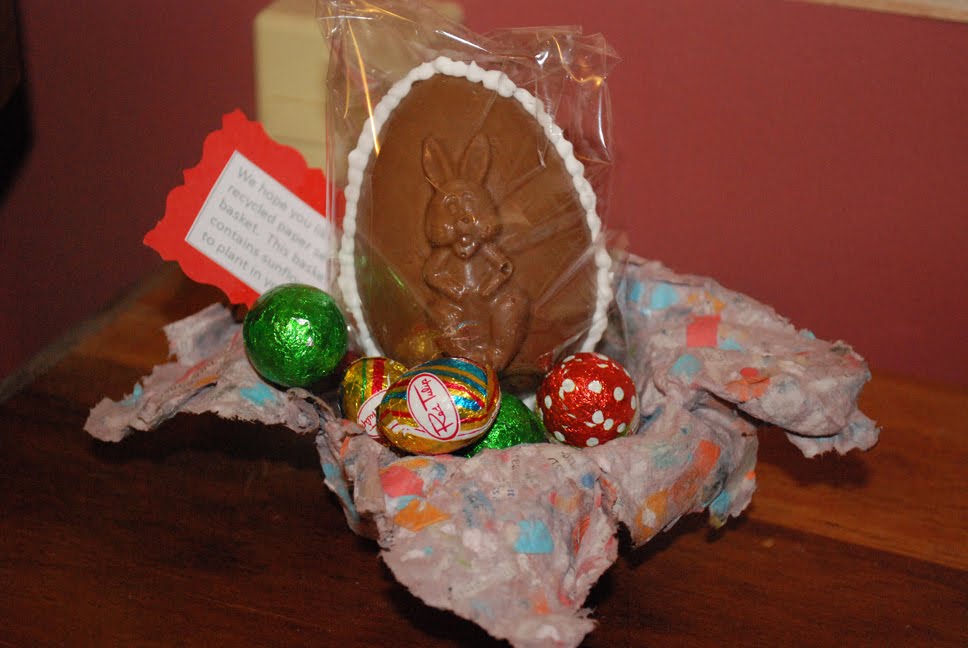 And filled them with a homemade hollow Easter egg with m&m's and jaffas in the middle.
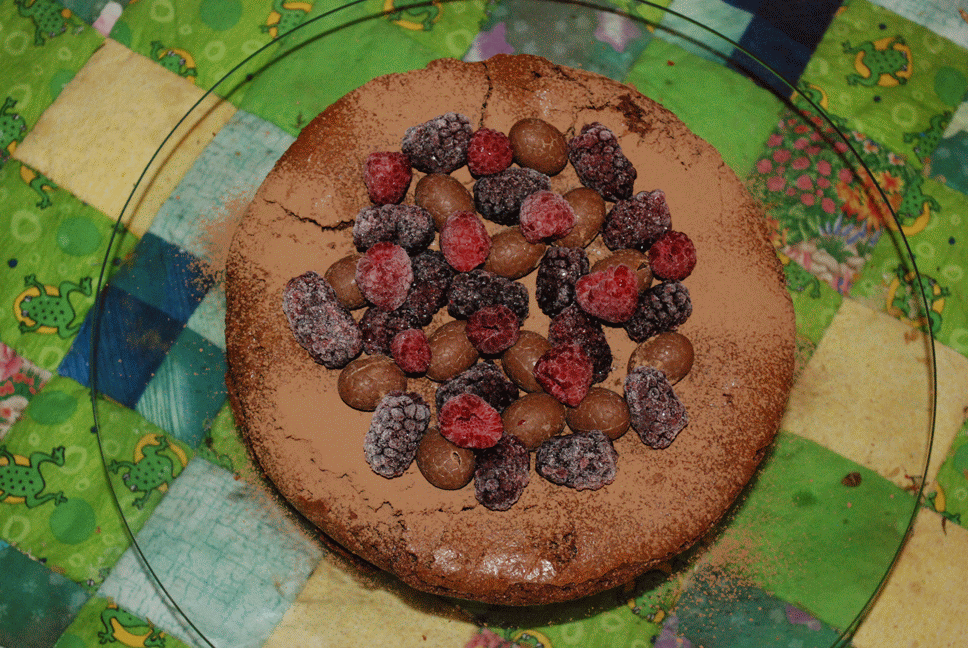 We shared a yummy lunch with all our family (including this delish chocolatey Easter cake)
 And went on an Easter Hunt together!
 Esme had a pocket in her dress that she used to put all the Easter Eggs she found
 Jacob found lots of eggs which he counted!


