Friday, April 15, 2011

Batik Eggs

I had my first attempt at making batik eggs at Steiner Playgroup the other day. Batik Eggs are made by dripping melted wax onto an egg and then dyeing them. I have to admit that my attempt at playgroup yielded much better results than the ones above (possibly because we used a good quality dye and candles!) but I think the ones we did at home still turned out alright in the end. We used blown eggs for this activity so we can keep the eggs. The eggs we made at home were make using generic food dye, a normal old candle (which was possibly a bit thick) and some white Silkie eggs (white eggs work better with the dye).

Here's how to make them:

STEP 1: Prepare the dye

To make the dye I mixed 3/4 cup warm water, 1 tbsp of vinegar and 1/4 teaspoon food dye. I made four different colours: yellow, red, green and blue. The colours are achieved by dipping the egg in a succession of different coloured dyes.

STEP 2: Drip melted wax onto the egg

Put a few drips of wax onto your egg. You can choose whether to drip dots of wax on the egg or just let it run wherever. The two eggs on the left in the first picture are made by dripping wax onto the egg (although not very successful attempts given my candle was a bit too thick!) while the other two were made by letting the wax run wherever. Remember that you will be putting more wax on to make different coloured patches as you go along so you don't need too much wax for the first layer.

STEP 3: Dip the egg into the dye

After the first layer of wax is on dip the egg into the dye. You will need to leave it in there for awhile and move it around slowly to allow the dye to penetrate. I usually start with yellow and then move to darker colours as I go on (this is the bit where you end up with interesting coloured fingers as you can see!)

STEP 4: Repeat the process

Once you have done the first layer repeat with more wax drips leaving the previous wax on. Dip the egg into the next dye colour (I chose red). Repeat the process with the wax and dye until you have used all the colours or you are happy with the colour (the more colours you dye the more coloured patches you will get).

STEP 5: Remove the wax

Once you are happy with how the egg looks you can remove the wax. This can be done by gently picking the wax off (be careful though as it can scratch the dye and leave marks). For bits that are hard to get off you can hold over the candle flame until melted and gently rub into the egg (this leaves a nice polished coating on the egg too)

This is a fun activity to do but it does take a lot of time. It took me a couple of hours to do these four eggs. Jacob and Esme were very interested in watching it to start with but it didn't take them long to get bored! Kids will also require close supervision when you are doing this activity.

Easter Teach/Learn Blogging Carnival

This post is part of the Teach/Learn Carnival, April’s theme is Easter. If you would like to join in submit your own post here, or check back at just before Easter for the links to lots of great posts.

Monday, April 11, 2011

Handprint Chicken


With Easter coming up soon, what better thing to make than a chicken? This also ties in with our farm theme. The kids had a great time with this activity. They especially loved having their hands traced around to make the wings and combs and gluing the feathers on to decorate their chicken.

What you will need:

White, red and orange cardboard
Google eyes
Feathers
Pen/pencil
Glue

How to make it:

Cut out a big circle and a small circle from the white cardboard.

Trace around kid's hands - once on the red cardboard and twice on the white cardboard. Cut out.

Cut out legs and beak from the orange cardboard. Cut out piece for above the beak from red cardboard.

Glue the two circles together. Glue red hand print on top for comb and white hand prints on sides for the wings. Glue legs and face bits on.

Glue feathers on body.

Jacob has his hand traced around to make the chicken's 'wings'

All the bits we need to make a chicken. Jacob can't wait to get started!

Esme glues some eyes onto her chicken

The feathers were a big hit too!

Esme proudly displays her chicken - look at all those different coloured feathers!

Esme was very taken with her finished chicken. It's actually still in one piece so I think that just shows how much she likes it ;)

Easter Teach/Learn Blogging Carnival

This post is part of the Teach/Learn Carnival, April’s theme is Easter. If you would like to join in submit your own post here, or check back at just before Easter for the links to lots of great posts.

Remembering

The angel we made to remember our two little babies

Today is a day of remembering. It is the due date of our second little angel. I actually feel quite positive about today although there is a tinge of sadness mixed with that. This due date is so different to the due date of our first little angel (in August last year). Last time I was in the early stages of pregnancy and faced with uncertainty that the pregnancy was going to continue.

This time around, I am pregnant again but a lot further along. I know the baby I am carrying is healthy and growing well which makes the passing of this date a lot easier. Of course, I always wonder about what might have been but I'm ok with the way things have turned out.

I also feel that in some ways the baby I lost is letting me know that everything will be ok. An interesting 'coincidence' occurred the other day which led me to think this. I hadn't been in touch with my midwife for awhile and when I rang her she told me that she had made an appointment for me but hadn't told me when it was. Then she told me it was the 11th of April - today. So I got to hear this baby's heartbeat today and to talk about about the new life I am growing, instead of focusing on what I don't have right now.

To remember this day and the two babies I lost, Chris and I made an angel. I have hung it our bedroom and like to think that the spirits of my two babies are looking down on me. The beads I used for the angel are swarovski beads so when the light shines through them they make beautiful patterns on the walls. The two big beads on the angel's halo represent the birthstone colours for the months that our babies were due.

The two babies I lost will always have a place in my heart. But I'm happy now to look to the future.

Sunday, April 10, 2011

Week 1 of decluttering: The sewing/craft stash

I've been inspired by the lovely Yvette over at Ramblings after reading of her recent decluttering efforts. So I have decided to embark on my own decluttering efforts. We have quite a small house (and not much storage space!) so things always pile up and make the house look messy. In a bid to get rid of these problems areas I have decided to tackle one decluttering project a week. I am due to have a baby in 12 weeks so I have decided not to do a whole year of decluttering but to just do one thing a week until the baby comes. Usually I get all motivated to declutter and then try to do everything at once and end up losing my motivation. So I'm hoping by keeping it to one project a week I don't lose that motivation!!

My first project has been to sort out my sewing/craft stash. My sewing/craft items to date have been stored in various places: in a wooden chest in our cupboard, a chest of plastic drawers in our room, the empty cot (oops...) None of the stuff was stored in any particular order. I tend to just throw things somewhere when I've finished a sewing project too so it was a HUGE mess. I wish I'd taken photos beforehand and when I was sorting it out so you could see what I mean! I literally had a mountain of material to sort through!

I bought some big underbed storage tubs and sorted all my sewing/craft stuff into these tubs. I threw out scraps of material that were too small to do anything with and other odd and ends that weren't useful. I weeded out material I didn't like or didn't think I'd use, as well as other things that I had doubles of and put them in a bag for the op shop. I made some great discoveries as well - I discovered I had lots of nappy making supplies left over from my last (disastrous) attempt to make nappies. I'm a more experienced sewer now though so hoping to use some of these supplies to make nappies for this baby ;)

Everything was sorted into four tubs. Tub #1 includes: nappy making supplies and other odd bits of material that are still useful. Tub #2 includes: all my good material.

The first two tubs are sorted: nappy making supplies/other odd bits of material and all my good material

Tub #3 includes all my felt (I make lots of stuff with felt!) and thread. Tub #4 includes miscellaneous craft bits: my laminating/book binding things, beading things and some paint.

The second two tubs are sorted: felt/thread and other craft supplies

When I'd put everything into these tubs I was then able to sort all my other sewing odds and ends into these (now empty) plastic drawers. Most of these things were being stored in the cot! I now have drawers for all my patterns and books, ribbons/elastic/buttons/threads and even my unfinished sewing work.

Nicely organised sewing supplies now in the drawers!

The plastic drawers can now be stored in our cupboard and the wooden chest that I was using to store sewing stuff in has been moved to Esme's room where it is a storage container for her (many!) stuffed toys.

I'm very excited about my future decluttering projects (actually I've already done next week's one but you'll have to wait until next Sunday to find out what that is!)

Wednesday, April 6, 2011

A confronting situation

As most of you probably know, I am a Breastfeeding Counsellor with the Australian Breastfeeding Association. I love what I do. It gives me so much joy to help educate and support Mums to breastfeed. Most of my experiences with my volunteer work have been positive although there can be moments when you see a Mum struggling or experiencing a particularly tough situation that get to you.

Recently though, I was faced with a situation that was particularly confronting for me. A couple of weeks ago our group ran a Breastfeeding Education Class. I led the group, along with a fellow trainee. Our classes haven't been very full lately and on this particular day there was only one couple (funnily enough, I actually knew the Mother although hadn't had much to do with her in recent years). They were a lovely couple. So keen and passionate about giving their baby the best start by breastfeeding. It was a pleasure to talk to them about breastfeeding. During the course of the class we also talked about the upcoming birth and how their preparations for the new baby were coming along. They were excited and ready for their baby to arrive. They only had a few weeks to go.

Last weekend I received a message from a mutual friend. Their baby had died at 39 weeks. I read the message with total disbelief. My friend didn't know details of what had happened and I still do not know. But I cannot imagine how absolutely heart wrenching this must be for them. I just wanted to cry for them. I still do.

How do you pick up the pieces of your life and carry on after this sort of loss?

How do you deal with growing a baby for 39 weeks, to get to know it intimately, and then have to deal with losing it?

How do you ever get through another pregnancy after something like this has happened?

This was their first baby. They would have had so many dreams and wishes for this baby. Instead they are faced with empty arms. I don't know what to do. I only have distant connections with this couple so don't feel that it is appropriate for me to even send a message. I just want them to know that I am here, crying a river of tears for them. To let them know that their baby will never be forgotten.

It has also made me realise, even more so, how truly precious each little baby is. What a miracle of life they are. And I am savouring every little kick the baby in my tummy makes right now.

Wordless Wednesday


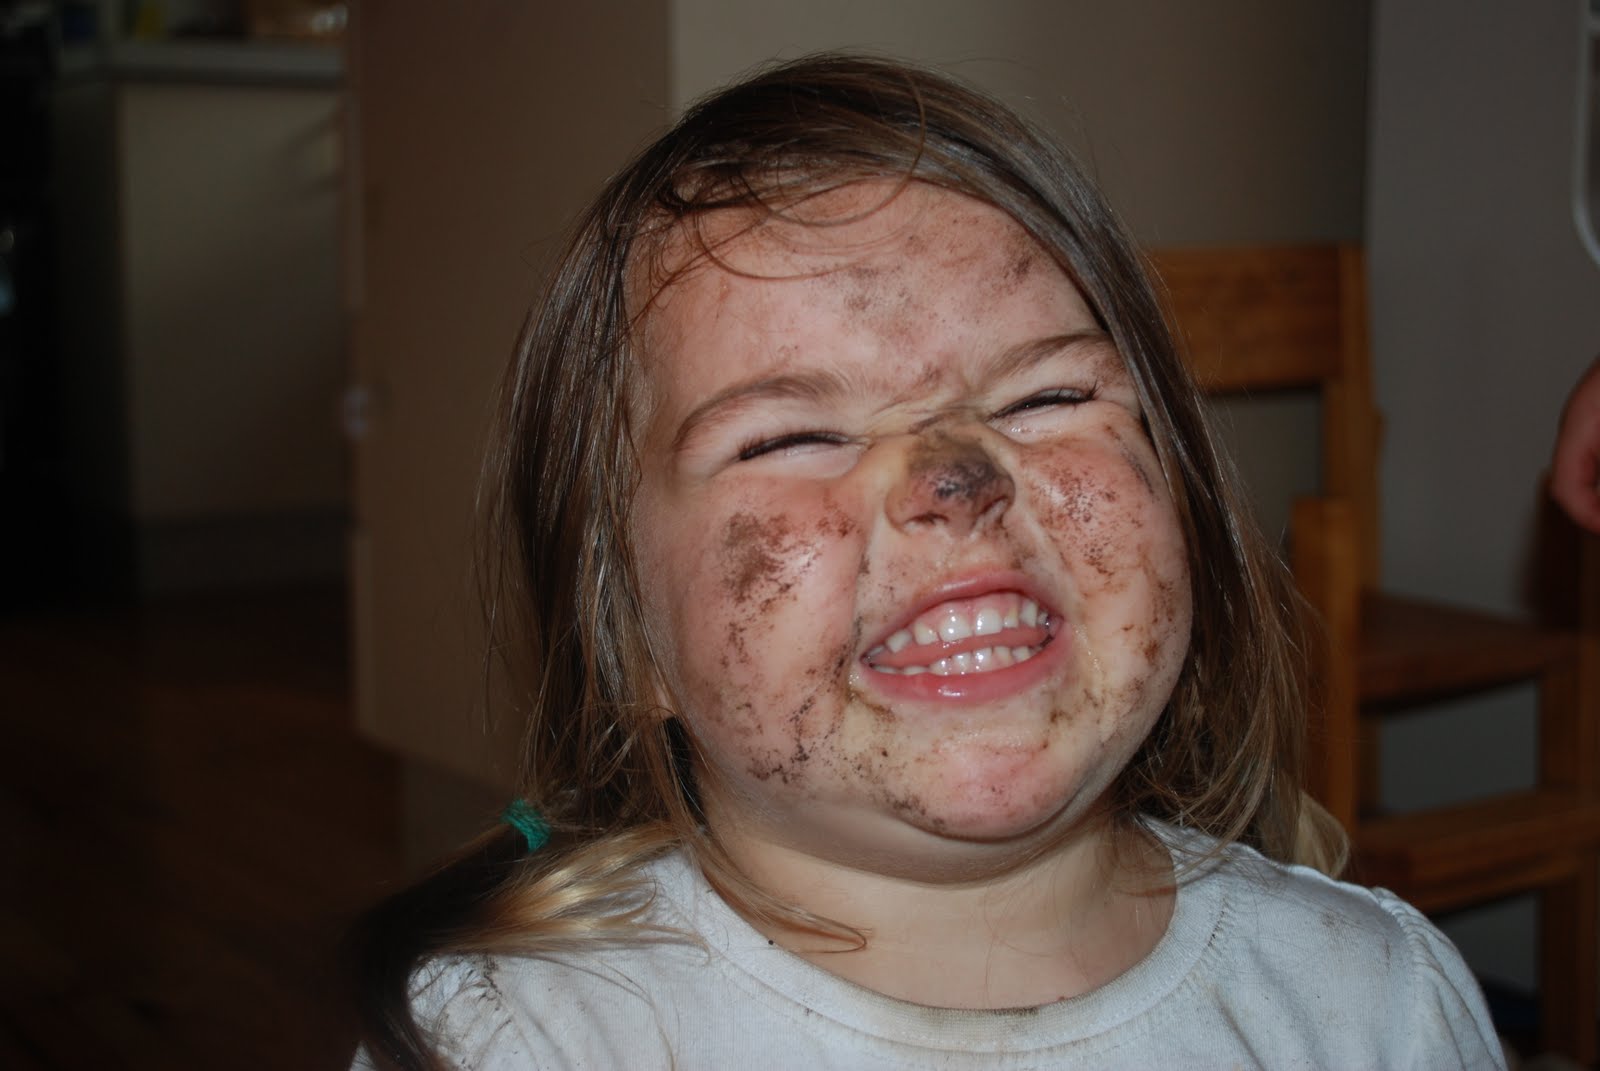
This is what Esme usually looks like after she's been playing in the back yard! I love that my kids enjoy playing outside so much (although I do usually insist they wear their puddlesuits if they're going to dig in the dirt ;))

Saturday, April 2, 2011

Hard Rubbish score!


There's been a bit of controversy about people taking things from Hard Rubbish Collections recently. See this article here about an incident that occurred in our very own shire. I don't understand this at all (and it seems many other people who read that story agree with me there!) If something is out for Hard Rubbish Collection it means the owner no longer needs it. Why is it so wrong for someone else to take it and recycle it rather than sending it to the tip to add to landfill?

Anyway, this incident hasn't deterred me for keeping an eye on the Hard Rubbish around here lately. This Cubby House is what I found the other day! Ok, so it's not in the best condition. It has a few cracks and it was missing the screws that hold it together. All easily fixed though. My ingenious husband (I was forced to write that) managed to put it all together with a few drill holes and some cable ties. And the kids love it! So much so that they wanted to eat their dinner in it tonight. Cheap entertainment really. And I love that we didn't fork out a heap of money on something new that they will probably decide they're not interested in in a couple of weeks.

Peeking out the back window!

Look - the windows open and shut!

Do you take things from Hard Rubbish Collections? Have you ever found anything good?
Related Posts with Thumbnails