Monday, December 30, 2013

Merry Christmas!


So...Christmas did not end up quite as we had expected this year!  I ended up with a tummy bug on Christmas Eve so spent the next day at home by myself while Chris took the kids out.  I was even too sick to watch the kids open their presents which I was really sad about.  Luckily no one else got it and we were able to celebrate a belated Christmas the next day.

We started some new Christmas traditions this year which meant a really lovely lead up to Christmas.  It started with our Advent stick on the first day of December.  Every night just before bedtime we would take it in turns to open one of the papers, light our candles and read a story from 'The light in the lantern'.  


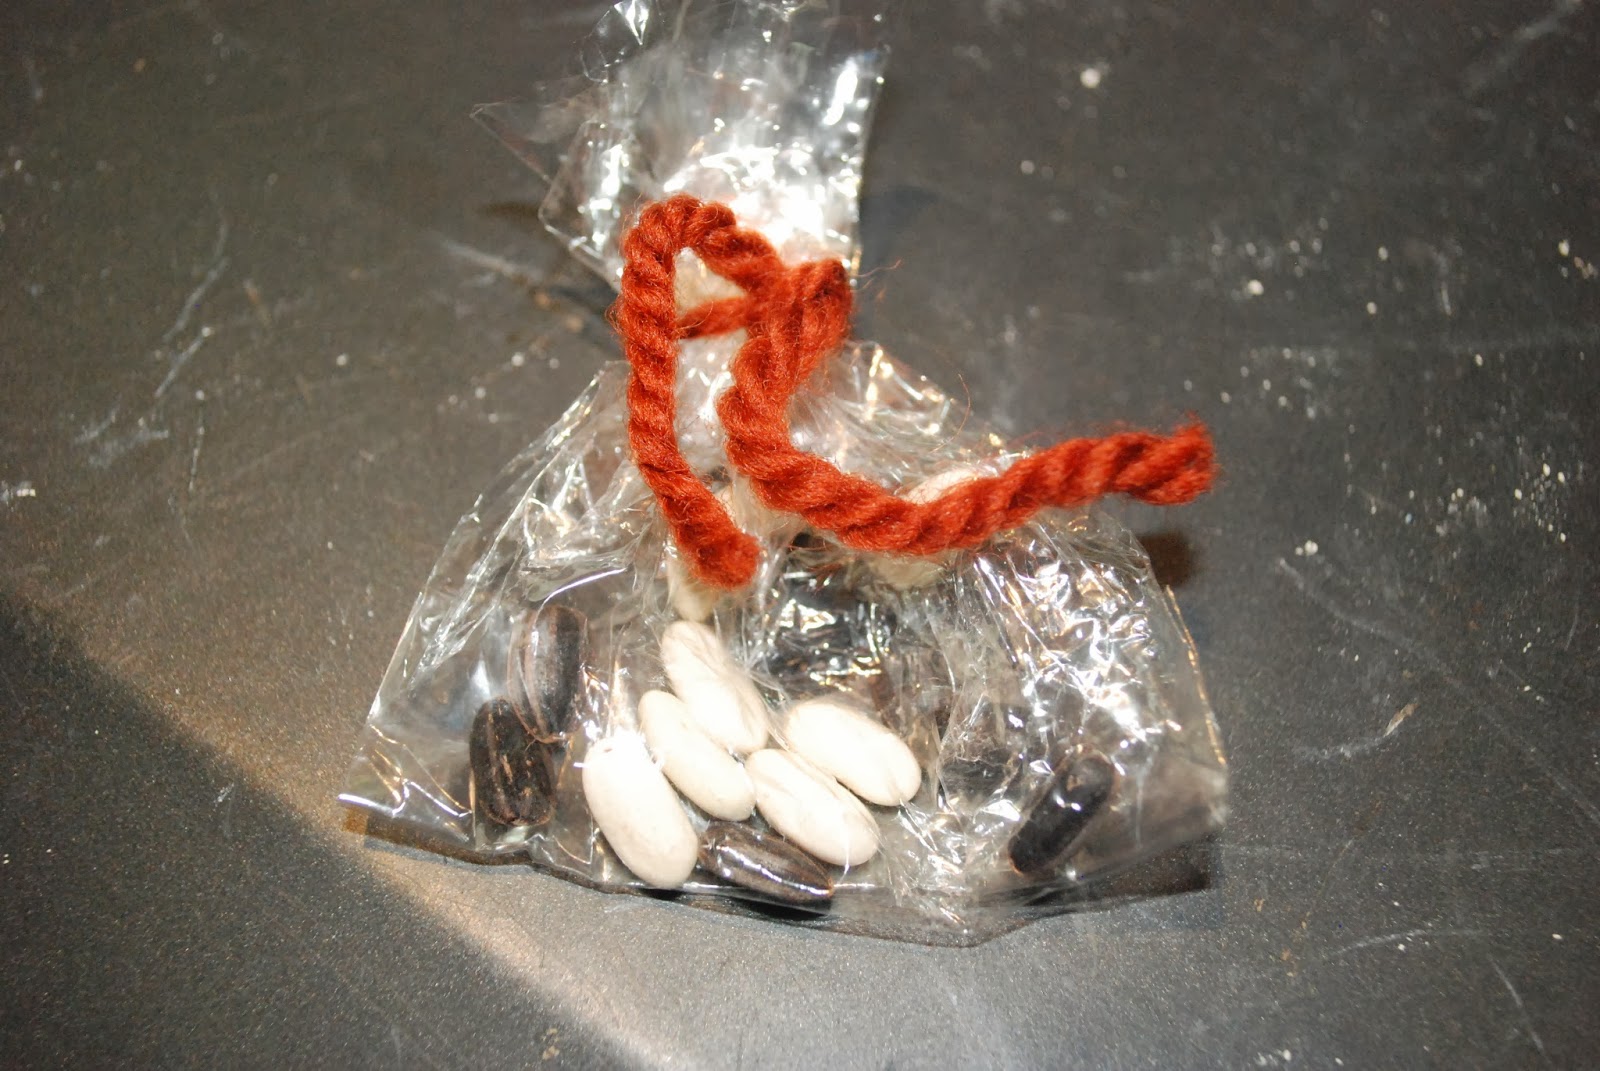
On Christmas Eve, we went outside to sprinkle our reindeer food on the driveway (packets of oats with some glitter mixed in) and we put some food out for Santa under the Christmas tree - he got some chocolates and milk this year.  The kids loved running around to sprinkle the reindeer food. 


The kids were so excited to wake up on Christmas morning and find that Santa had left presents for them under the tree.  Jacob was so excited to have his own set of vintage Thomas the Tank Engine books!  Esme and Gideon were just excited about everything. 


The most exciting thing of all was that Santa brought them a cubby.  He left it on the driveway in pieces so when they went out to check if their reindeer food had been eaten they discovered it.  They were literally screaming in excitement.  In the lead up to Christmas Jacob had been talking about wanting Santa to bring a cubby with a red slide (we hadn't said anything to the kids about what they might be getting for Christmas).  Funnily enough, that's exactly what he brought ;)  Stay tuned for more photos of the cubby house being put up! 

Wednesday, December 4, 2013

Christmas Advent Stick

Recently I attended a Christmas workshop at my childrens' school to learn how to make an Advent stick.  An Advent stick is basically an Advent calendar but instead of pockets, items are wrapped in tissue paper and tied to a stick.  All the items are either objects from nature or things that have been handmade (no chocolates in sight on this calendar!) Each week of Advent corresponds to a different world, as per Steiner traditions.  Week 1 is the mineral world.  Week 2 is the plant world.  Week 3 is the animal world.  Week 4 is the human world.  I had such a lovely couple of evenings crafting with some beautiful women and enjoyed putting lots of love into all the handmade things for the kids. It was a little harder than I expected to tie all the items onto the stick but with the help of my (ever-suffering) husband we were able to do it. Here's some photos of what was on our Advent Stick.

Day 1: Beeswax candle in  holder and verse about the first week of Advent
Day 2: Shells
Day 3: Chalk
Day 4: Painted stones
Day 5:Beaded Christmas ornament
Day 6: Bath crystals
Day 7: Glass stones
Day 8: Beeswax candle in  holder and verse about the second week of Advent
Day 9: Gumnut Christmas Ornament
Day 10 : Seeds
Day 11: Handstitched Holly decoration
Day 12: Dried Rose petals
Day 13: Felted acorn gnome
Day 14: Bulbs
Day 15: Beeswax candle in  holder and verse about the third week of Advent
Day 16: Finger knitted snail
Day 17: Feather
Day 18: Origami Crane
Day 19: Sea shell turtle
Day 20: Coral
Day 21: Hand stitched dove
Day 22: Beeswax candle in holder and verse about fourth week of Advent
Day 23:Silk Angel
Day 24: A verse I wrote for the kids

The kids had a lovely time taking it in turns to open each parcel.  I'm looking forward to creating another one for them next year! 

Monday, December 2, 2013

Handmade Christmas Ornament for 2013


I have resolved to start a new tradition of making a new Christmas Ornament each year for our tree.  I love the idea of making something special each year and hope that in years to come I will be able to look back and see all these special things I made. 

This year's ornament is a peace dove made from this pattern.  It looks relatively simple but a lot of time and love went in to making it!  I'm planning on making some more to gift in different colours. 

Sunday, December 1, 2013

Strawberry Santas (the dairy-free version!)

Dairy-free, gluten-free, soy-free, sugar-free


I've seen photos of these strawberry Santas going around a lot lately.  They look  really great.  The only problem is that the ones I've seen are made with whipped cream and Jacob can't have dairy.  So we came up with our own solution - cashew nut cream!  I've posted my recipe for cashew nut cream before.  It makes a great filling for strawberry Santas.  You will need to add slightly less coconut milk to this recipe though to make these.  The cashew nut cream needs to be a pipe-able consistency otherwise they will just collapse.

Ingredients
20 strawberries
2 quantities cashew nut cream (with slightly less coconut milk) 
a handful of black chia seeds

Method
Slice off the leafy end of the strawberry so the strawberries sit flat.
Then slice off the tip to make a hat. 
Put your cashew nut cream into a piping bag and pipe swirls on the top of the strawberry base. Replace hat.
Add a dollop of cashew nut cream to the top of the hat and down the Santa's front. 
Add two chia seeds to each Santa for eyes (we actually used flaxseeds as we didn't have black chia seeds!)

Enjoy! 
Related Posts with Thumbnails